Setting up a Static IP for Ubuntu servers and Nvidia Jetson Machines
Hello folks! I'm Othniel, and in this blog, I'll share my experience on setting up static IPs on different machines. I'll cover:
1. Ubuntu Server
2. NVIDIA Jetson Machines
By the end of this guide, you'll know exactly how to configure a static IP on these systems.
Before setting a static IP, you need a few details:
- The IP address you want to assign
- The subnet of your network
- The default gateway
If you're using a home router, the default gateway is usually 192.168.0.1, and the subnet is 255.255.255.0
You can assign any available IP from 192.168.0.2 to 192.168.0.254
For this blog, I'm using my private network provided by my network admin. My configuration is:
Gateway: 172.25.88.1
Subnet: 255.255.254.0
IP range: 172.25.88.2 to 172.25.89.254
With these details ready, we can move on to assigning a static IP on each machine.
1. Setting Up a Static IP on Ubuntu Server
First, navigate to the network configuration directory using the command:
cd /etc/netplan
Next, type the following command to list the files:
ls
You'll see a file such as 01-netcfg.yaml or 50-cloud-init.yaml.
If no such file exists, you can create one.
Now, open the file using either nano or vim:
nano 01-netcfg.yaml
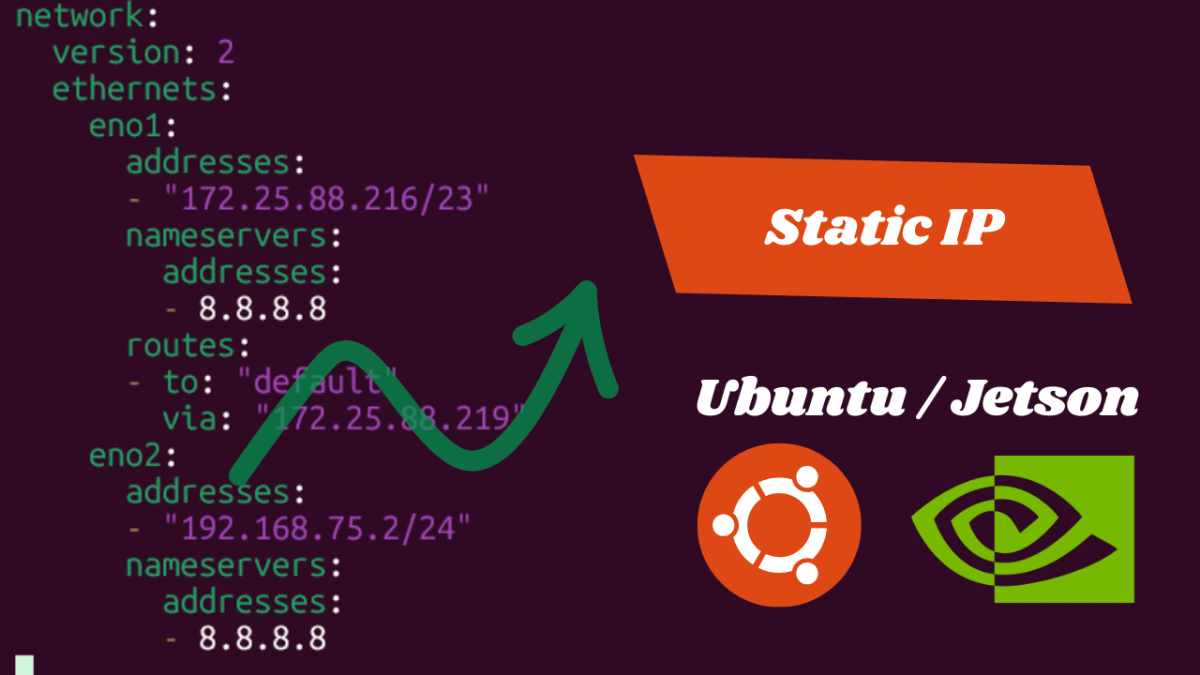
Copy and paste the configuration below into the file:
network:
 version: 2
 ethernets:
 eno1:
 addresses:
 - "172.25.88.218/23"
 nameservers:
 addresses:
 - 8.8.8.8
 routes:
 - to: "default"
 via: "172.25.88.1"
Once done, save the file and apply the new network settings using:
sudo netplan apply
Finally, verify your network configuration by running:
ip a
You should now see your new static IP address applied successfully — your Ubuntu Server static IP setup is complete!
2. Setting Up a Static IP on Jetson Server
I'm using the same IP configuration as before, but you can use your own network details.
Setting a static IP on a NVIDIA Jetson device is quite simple. First, identify the network connection you're using with the following command:
nmcli connection show
This will list all available connections, such as Wired connection 1 or Wired connection 2.
Next, choose the connection you want to configure a static IP for, and run the following commands:
sudo nmcli con mod "Wired connection 1" ipv4.addresses 172.25.132.218/23
sudo nmcli con mod "Wired connection 1" ipv4.gateway 172.25.88.1
sudo nmcli con mod "Wired connection 1" ipv4.dns "8.8.8.8 8.8.4.4"
sudo nmcli con mod "Wired connection 1" ipv4.method manual
Once the configuration is done, bring the connection down and back up to apply the changes:
sudo nmcli con down "Wired connection 1"
sudo nmcli con up "Wired connection 1"
Finally, verify your network configuration by running:
ip a
You should now see your new static IP address applied successfully — your Jetson Server static IP setup is complete!
Continue Reading on ReadSide
Join thousands of writers who use ReadSide to write better and stay consistent.
Read Full Article →Free to read • Comment your doubts